
Call Settings (Menu 5)
This menu lets you store calling card information in your
phone, and set up calling restrictions.
To access Menu 5, press
MENU, then !#until you see
CALL SETTINGS
. Press
OK.
Calling Options (Menu 5 1)
This menu lets you set your phone so that it can only make
the types of calls you specify, or only in certain types of
networks.
Note: When calls are restricted, calls may be possible to
the emergency number programmed into your phone
(e.g., 911 or another official emergency number) including
calls by emergency 9 dialing.
Carrier Selection (Menu 5 1 1)
Your phone uses a carrier network (also called a cellular
system) to make and receive calls. Generally you sign up
for service with a particular “carrier” (your cellular service
provider). This is called your “Home system” and usually
you want the phone to use it.
46
But there may be times when you can’t or don’t use your
Home system (for example when you travel). Then, there’s
usually more than one network your phone can work in.
But which one should it work in? The point of the Carrier
Selection menu is to help your phone make the best
choice for you.
A simple fact to know: all cellular systems are either type
“A” or “B”. So your “Home system” is either an “A” or “B”
system. Ask your cellular service provider or dealer which
type yours is.
1
Press
MENU then !#until you see
CALL SETTINGS
.
Press
OK. Press ! until you see
CALLING OPTIONS
.
Press
OK.
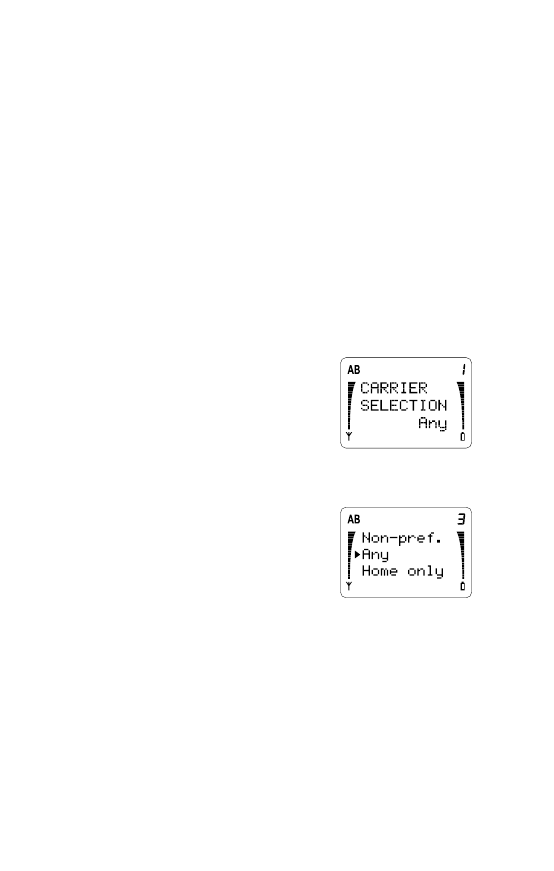
2 Press ! to scroll to
CARRIER
SELECTION
and the current
setting. Press
OK if you want to
change it.
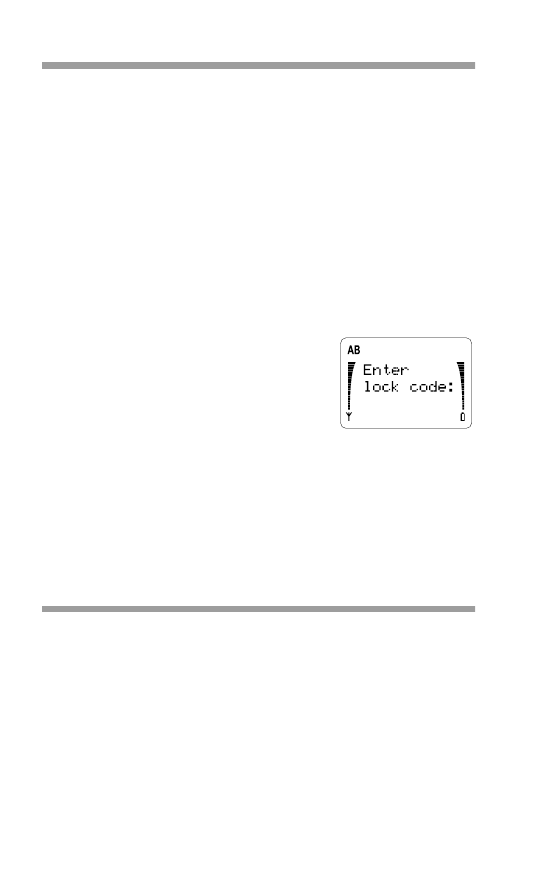
3 The phone asks for your security
code. Enter it and press
OK.
4 Press ! to move the pointer to
the option you want (described
below). Press
OK to select it.
Preferred
-
Your dealer can pro-
gram a list of “preferred” networks
into your phone. If your dealer has done this, when you
choose
Preferred
your phone looks first for your home
system, then a network in the preferred list, then a network
of the same “type” (A or B) as your home system, then a
network of the opposite “type” as your home system.

47
If your dealer has not programmed this list into your
phone, you can still use the
Preferred
option. The
phone will look first for your home system, then a network
of the same “type” as your home system.
Non-Preferred
- Your phone will choose a network
that is of a different “type” than your Home system.
Any
- The phone first looks for your home system, then a
network of the same “type” as your home system, then a
network of the opposite “type” as your home system.
Home Only
- The phone only looks for service on the
Home system. It won’t choose any other network, so if
you’re out of your Home system, you won’t have service
(
NO SERVICE
).
The table below shows how the phone’s display changes
according to which network the phone uses.
If the phone is
using this
network:
The display
shows:
The display says:
Home system
(solid)
Blank, or name of
Home system
Preferred network
(flashing)
PREFERRED
, or
name of Preferred
network
Home-type (phone
has preferred list)
(blank)
ROAMING
Home-type (no
preferred list in
phone)
(flashing)
ROAMING
Non-Home-type
(blank)
NON-PREF
.

48
Allowed Calls (Menu 5 1 2)
1
Press
MENU then !#until you see
CALL SETTINGS
.
Press
OK. Press ! until you see
CALLING OPTIONS
.
Press
OK.
2 Press ! to scroll to
ALLOWED
CALLS
and the current setting.
Press
OK if you want to change
it.
3 The phone asks for your security
code. Enter it and press
OK.
4 Press ! to move the pointer to
the option you want (described
below). Press
OK to select it.
Allow all
- There are no restric-
tions on outgoing calls.
Nat’l only
- You can only make calls within your own
country; you cannot make international calls.
Local only
- You can only make local calls, or calls to
toll-free numbers beginning with 1800, 1888, or 1877.
You cannot make national calls (prefixed with 1) or inter-
national calls (prefixed with 011).
Mem. only
- You can only make outgoing calls to
numbers stored in memory locations 10-14.
Note: You cannot store any numbers in the phone
directory when Mem. only is selected.
Incoming
- You can only receive incoming calls; your
phone will not allow outgoing calls.

49
Calling Card (Menu 5 2)
Note: If you activate the service provider prepaid option,
this menu is not available. Any calling card information
saved in your phone will be lost. If you deactivate the
service provider prepaid option, the Calling Card menu
becomes available again, but you must resave any calling
card information.
With this menu you store calling card information for up to
2 cards in your phone. Then you can make calling card
calls without having to enter the calling card information
each time.
To make a calling card call, see “Calling Card Calls” on
page 18.
Remember, to use the automated method of making cal-
ling card calls, you must have entered all the necessary
card details and selected the card (using this menu). If only
the details for one card are entered, there is no need to
use the Select feature. But, if you then add the details of
another card, the second card will automatically become
the card in use. Only one card can be active at a time.
You may enter a card name for each card, but this is
optional. This name is only used for card identification on
the phone display, and has no effect on the sending
sequence. ‘Card A’ and ‘Card B’ will be replaced by the
names you enter.
Card information may be found on your calling card. If you
need further information about specific dialing sequences,
contact your calling card company.
To Enter or Change Calling Card Information
1
Press
MENU then !#until you see
CALL SETTINGS
.
Press
OK.
50
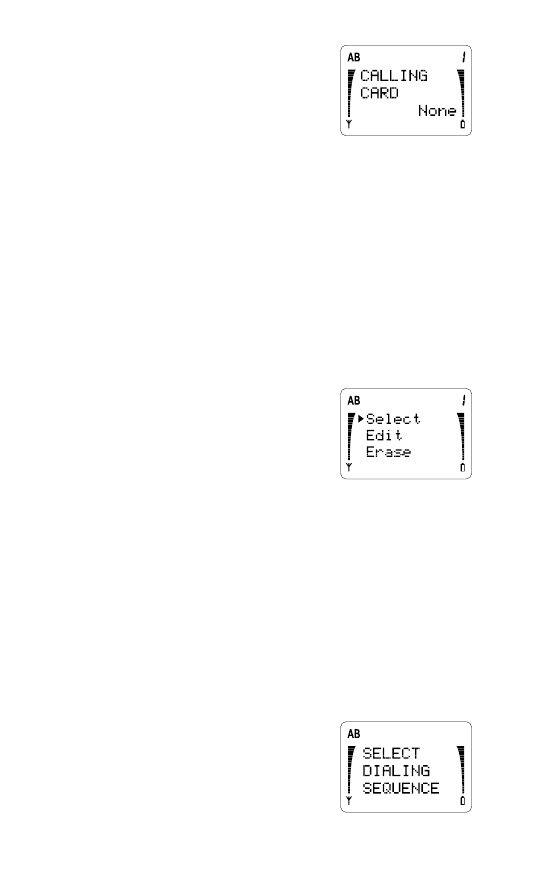
2 You’ll see
CALLING CARD
and
the currently selected card. Press
OK to change it.
3 Use ! to move the pointer to
None
,
Card A
or
Card B
, then
press
OK. When the phone asks for your security
code, enter it and press
OK.
If you select
None
, the phone briefly displays
NO
CARD SELECTED
, and no card is selected.
Note: If you’ve already stored card information, and
then later select None, the active card is deselected.
However, stored card information is left intact.If you
select
Card A
or
Card B
, and you’ve never entered
information for the card before, skip to Step 5.
4 If you’ve already entered informa-
tion for a Card, you then have the
option to
Select
,
Edit
, or
Erase
the card. Use
! to move
the pointer to the option you
want, and press
OK.
Select
chooses this card as the one to use.
The phone briefly displays
SELECTED
.
Edit
allows you to change already-entered
information, described in Steps 5 and 6 on next page.
Erase
erases the stored information. To verify that
you want to do this, press
OK at the
ERASE?
prompt. Press
CLR if you don’t want to erase the
stored information.
5 The phone prompts you to
SELECT DIALING
SEQUENCE
. Press
OK.

51
Press
! to scroll through the 4 dialing sequence
options, and press
OK to choose:
Access No.
+ Phone No. + Card No.
Use for cards that require you to enter a 1-800
access number first, then require you to enter a
phone number after you hear a tone, then a card
number after you hear another tone.
Access No.
+ Card No. + Phone No.
Use for cards that require you to enter a 1-800
access number first, then require you to enter your
card number after you hear a tone, then the phone
number after you hear another tone.
10xxx
+ Phone No. + Card No.
Use for cards that require you to enter an access
number (beginning with 10 then 3 digits), followed by
the phone number after you hear a tone, then a card
number after you hear a tone.
0
+ Phone No. + Card No.
Use for cards that require you to enter 0, then the
phone number after you hear a tone, then a card
number after you hear a tone.
6 The phone then prompts you for other card informa-
tion, which may include:
SELECT PREFIX
,
Card
No:
, and
Card name:
. At each of these prompts,
press
OK.
For
SELECT PREFIX
, use
! or " to move the
pointer to the prefix that your calling card requires you
to enter before the phone number. Then press
OK.
For
Access No:
,
Card No:
, and
Card name:
,
enter the information then press
OK.
The phone briefly displays
CARD READY FOR USE
, and
uses the card for which you just entered information.
52